Thermalright Ultra 120-Extreme + Noctua + Corsair HX620w; from water cooling back to air
I had been delaying this for a while and finally got around to it. I’ve had a watercooling setup for 1.5 years, but the past few months had been horrible with leaks in the CPU block and really bad performance. Also my PSU was being more noisy than I’d like. I was thinking of getting a new water cooling block, specifically the G-flow from Innovatek, which looked pretty good, but I was really tired with pita and expensive maintenance of water cooling.
So I decided for a heatsink/fan for the CPU and I’d close the WC circuit to the GPU. I bought a Thermalright Ultra 120-extreme and a Corsair HX620w PSU. I looked at many others before deciding for those 2.
My current setup: look at this horrendous picture, a damaged and patched numerous times CPU wc block which still leaks, and some rags behind it to save the GPU.
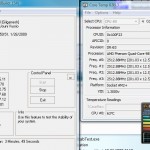
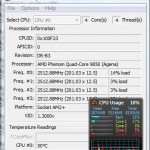
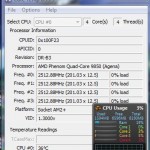
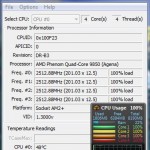
Also check these temperatures (load and idle): My CPU is an AMD Phenom 9850 BE (65 nm)
Really bad for a water-cooling setup, isn’t it?
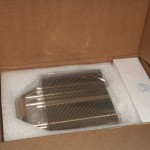
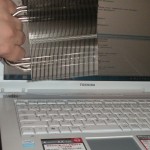
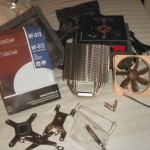
Ok let’s go with the goodies. Let’s check the heatsink first. Thas thing is frigging huge and heavy, it’s scary thinking it will be hanging off my motherboard:
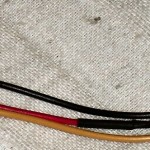
It comes with adapters for AM2 and 775, some anti-vibration rubbers, clips for a fan, thermal paste, and and the ULNA (Ultra Low Noise Adapter): this is simple a cable adapter which reduces the voltage from 12v to 5v.
The fan clips are a pita to insert, although Thermalright has a new fan adapter now for sale, and also a socket 1366 version (for i7)
The ULNA:
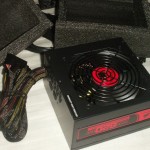
Now the PSU:
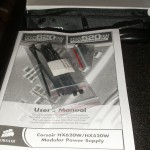
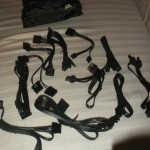
I had been wanting a modular PSU for ages to remove some unneeded cables from my case. It comes with many sets of SATA and IDE cables, 2x GPU, 4 and 8 pin extra motherboard plug, and some adapters for floppy etc. There is also a manual complete with a bunch of useless Euro languages.
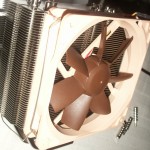
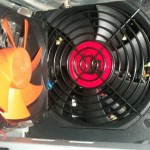
Now the Noctua fan. This is a very famous brand for their awesome performance and low noise:
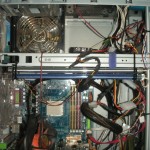
It took me a while to remove the CPU WC block and re-do the tubes to close the circuit to the GPU. While I was at it, I decided to finally arrange the cables in my case properly, which are currently a mess:
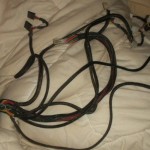
Yeah I know what you are thinking.. but I’m finally fixing it!. Also look at my older PSU, what a mess with those long cables.. most of which I didn’t need.
So I started re-arranging the cables for the motherboard (speaker, power-on, reset etc.. which go all the way to the top of the case), 4 UV tubes, front panel with card readers and e-sata, and my Aerogate II (fan controller and temp. display).
Next I proceeded to insert the new PSU. I had some trouble here because it seems to be larger than standard(?) and the anti-vibrations bar of the case won’t fit properly:
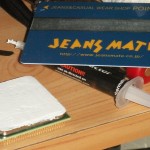
Applying the paste: these cards work great for this
Inserting the heatsink was quite a pita with the AM2 adapter: the back plate always moves back and I have to push really hard for the screws to reach the holes.
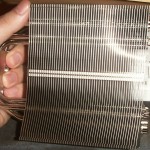
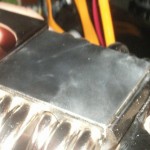
I had read some reviews which said the surface wasn’t properly flat, so I took a look but couldn’t figure out if it was like those or not.. what do you think?
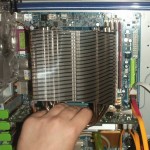
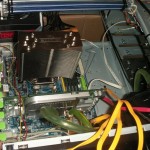
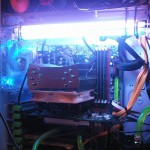
Finally inserted:
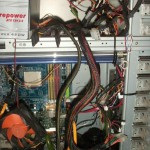
Now tidying up the rest of the cables etc:
I love these sata plugs with the clip, you need to push slightly to unplug them so they don’t accidentally disconnect (very easy with the normal sata cables). Also the PSU has these nice IDE plugs where you press slightly and it comes off for easy removal.
Almost done:
Re-filling the coolant tank:
And we are finally done.
Both the Noctua fan and the Corsair PSU’s were incredibly silent. The PSU one barely moved at all (it adjusts according to temperature or load).
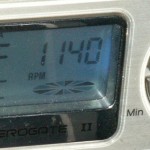
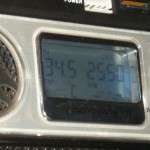
I plugged the Noctua to the AerogateII to check the RPM:
It’s rated 800-1200 RPM so I guess it’s ok. Hopefully it will work nicely when I enable C’n’Q to adjust the RPM according to load. I also tried with the ULNA, but with that it didn’t report RPM info (showed as 0) somehow..
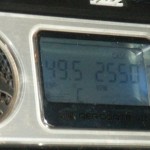
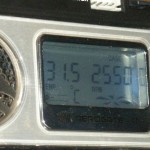
After that I placed a temperature sensor in the heatsink and tested it in 3 ways: 1) without fan. 2) with the fan. 3) with fan and the ULNA. (Note: this isn’t the CPU temp., it’s the heatsink’s)
Let’s close the case:
And finally the awaited testing..
3) GPU idle (it should be better now as it has the WC all to itself) 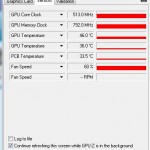
4) Idle without fan (I gave it a couple minutes to warm up) 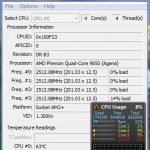
5) Load without fan 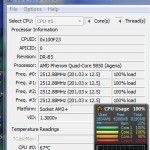 It eventually reached 70-72 C
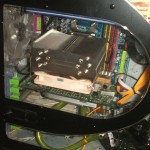
Ok, that’s pretty much it. After completely closing the case etc. the temp raised a little bit but that is to be expected: the fan orientation with the AM2 socket is awful, and my case fans setup is far from perfect. I will eventually get a new case with better air flow and the PSU on the bottom, and I will get a new video-card with passive cooling. (a heatsink without fan)
Price:
– Corsair HX620w PSU: 124 euro ($165)
– Thermalright Ultra 120-Extreme: 59 euro ( $78)
– Noctua 120mm fan: 19 euro ($25)
– 1L coolant: 20 euro ($26)
– Shipping: ~17 euro ($23)
= 239 euro ($315)
The Thermaltake Armor LCS case costed me ~250 euro back then ($330)
Final thoughts: These products rock, it was worth the money! (much more silent now). Also.. ThermalTake products suck, I’m not buying one ever again. (old PSU was also thermaltake)
Alright, thanks for reading!

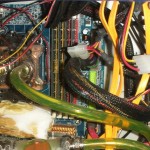
Actually nm that, just checked and I did fix that at the end.
On a side note.. just noticed I placed the hard disks fan wrong, the way it is now it’s sucking air from inside the case, and it should be the other way around.
Yeah. I will be assembling a new PC soon anyway. I’ll get a new case with the PSU slot on the bottom, an i7, ddr3 ram, new mobo and a passive cooling GPU. With the intel sockets there’s no problem since the 4 holes for the screws are like a square; the AMD instead is like a rectangle so only 2 positions are available. Dunno what they were thinking when Thermalright designed the amd bracket.
Oh yeah, I see that. They should have thought of making the bracket so it would be able to place it in the right way.
I can’t turn it around because of the AM2 socket :/
You should have turned your cooler 90 degrees, this will probably lower the temperatures a bit more because of the airflow in the case.
I have a Xigmatec S1284C, which is very similar to the Thermalrigh Ultra 120-Extreme.
See here what I mean.
http://ostebaronen.dk/images/DSC_1177_small.JPG
That is btw. my new rig 😀