New case HAF932, OCZ Agility SSD, XFX 9800 GX2 Black Edition
I had been wanting to buy a new case for quite a long time, and finally got around to doing it. My old Thermarltake Armor LCS just couldn’t do the job anymore after I switched to air cooling for the cpu. Also took the chance to get my first SSD and a new video card. This isn’t intended as an extended review or anything, just a small post to show pics to friends etc. Let’s begin:
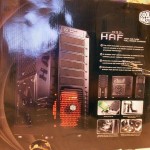
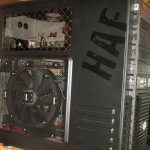
The chosen case was the Cooler Master HAF 932. Its main features are excellent cable management and nice airflow. The case is slightly bigger than the TT, although half as heavy.
The new case:
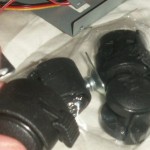
They include some wheels (with a brake); I won’t use them though, the case just barely fits under my desk.
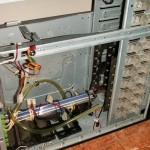
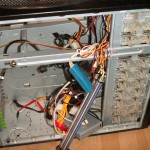
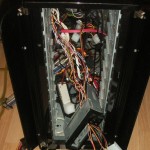
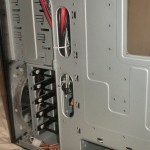
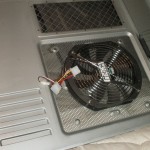
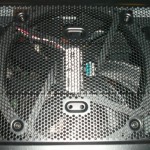
Disassembling the old one:
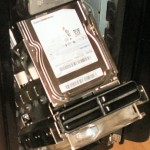
I became to hate this case for quite a few reasons. One being the location for the hard disks: you can either put them in a removable cage (room for 3) which is placed right IN FRONT of the PSU, which is placed vertically thus.. blocking the PSU fan. Retarded. The other option is to put them in the lanes from pics 1 and 4 above which are attached to the radiator, so you gotta pull it out from the front and it’s a huge pita to do so.
So, let’s continue with the new case:
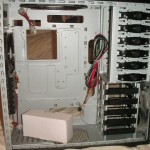
I always wanted a case with the PSU slot at the bottom, removable hard disk trays and the cable plugs either on the front or the back.
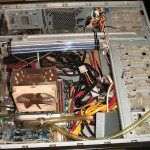
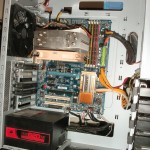
I started by installing the motherboard, then doing some cable management, PSU, hard disks, and cards.
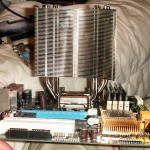
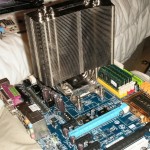
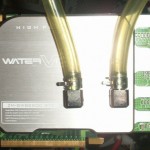
Notice the hole in the 3rd picture. This is apparently so you can change heatsinks that require a backplate without having to remove the entire motherboard etc. Obviously either they didn’t consider AMD sockets, or Gigabyte is at fault with the location (doubt it). Also notice in pic #4 how the fan is placed.. it can be either above or down, not on the sides which would be ideal (possible with the Intel brackets only). Utterly retarded from Thermalright.
yep, f@cking huge.
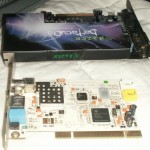
My razer barracuda ac-1 and terratec ht pci (sound card and tv card). The razer used to be quite expensive.. but I don’t think it’s all that great. My older Terratec Aureon Space 7.1 had much better quality. Too bad they don’t care about customer support/drivers etc (it doesn’t work very well with W7, and I had to bother them for more than a year to get a BETA working driver for Vista, so I won’t even bother for w7; they even removed any contact options from their website). They are n.. german btw. The TV card however works really well in W7 and they keep updating its software.
Now something I dislike about this case:
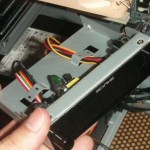
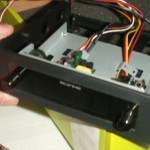
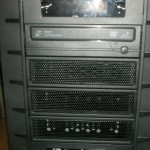
They include an adapter to install a 3 1/2 unit, but they didn’t include any special cover for it, so there’s a hole on each side. Also, the 5 1/4 bays have a system to very easily remove them by pressing on either side, as you can see on pic 2, however, once you install a drive.. yeah, looks ugly :/ They could have included something to cover that with.
The system to easily install 5 1/4 devices without screws works pretty well compared to most others I’ve seen, just press the button and it’s locked. However.. it’s a bit loose on the right side, so I used a few screws there. They should include those push things on each side imo.
Back to the adapter.. there’s only 1 included, so I couldn’t install my fan controller. I’ll buy some adapters from ebay I guess and update the article later.
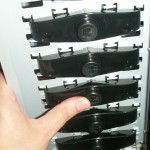
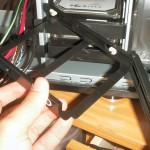
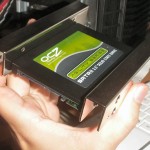
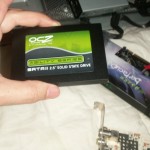
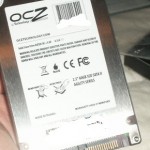
The hard disk trays are great (sorta delicate though, probably easy to break). You extract each tray and ~place the disk in, no need for screws. They also include some rubber stuff to minimize vibrations. For the SSD I used a converter I bought sepparetely.
I used my <3 eee while installing the case so I’d still have internet and such. Susprisingly.. it worked fine plugged to a 24″ LCD @ 1920×1200
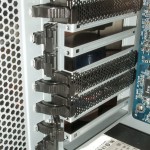
The brackets to install PCI cards are just awesome. Seriously. I’ve assembled dozens of pcs and encountered a multitude of different “easy-install” systems, they all sucked. This one rocks though, it works really well. Thermaltake’s suck and they always made removing any card a nightmare. These however work as they should.
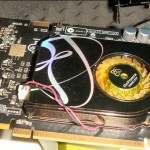
My 8800 GTS (I haven’t received the 9800 gx2 yet). I had never used the stock cooler, purchased the water cooling kit at the same time back then (was quite expensive). (Yes, I won’t be using water cooling on the card anymore, since the entire wc system is part of the TT case). The stock fan works nicely, barely noisy at all. With WC it was always around 55-60C, even under load. With air now.. it ranges 60-75.
And we are done:
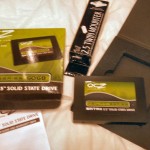
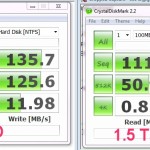
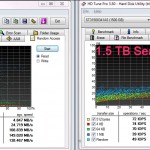
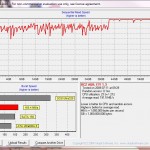
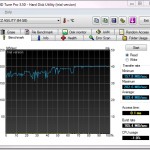
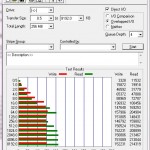
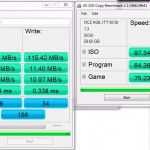
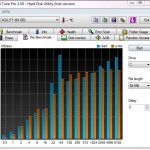
Now some benchmarks of the SSD:
* Installed w7 in about 7 minutes, from first install click to a booted desktop.
Yep, amazing. Look at the I/O in the HD Tune results.
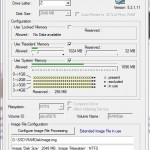
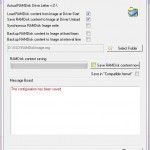
To help its lifetime I followed I few recommendations from the OCZ forums, such as a few registry tweaks, disabling prefetch/superfetch, search indexing, auto-defrag, system restore, pagefile (never used it anyway since I had 8GB), and moving firefox cache, windows logs and temp files to a RAM disk (I have 8GB ram so used 2GB for it). I purchased QSoft’s product for it. It seems to have been made by a single individual, no real business etc, but works extremelly well where other products fail. Even works for 64-bit W7 with no problems. I think it was around ~$12, just the right price.
UPDATE: finally received the 9800 GX2. Also the 5 1/2 tray converters and a pci-e card with 2 sata ports.
So, 2-3 weeks after I first wrote this post (saved it as draft only), received the rest of pieces to complete my new system. Let’s see:
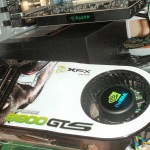
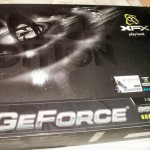
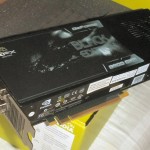
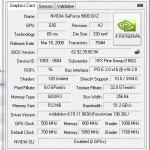
* XFX Geforce 9800 GX2 Black Edition. I bought this used from ebay. I was thinking of a 260 or 275 first, but decided for this. The 8800 GTS was still doing ~fine, however sorta lagging with high quality settings etc in 1920×1200. I will probably ebay it now. So, the new card:
The card is extremely heavy and large. I was worried about the power plugs.. read everywhere the card needs 1×6 and 1×8, no conversion from molex and such. Fortunately my PSU is quite high-end and had no trouble powering it up (Corsair HX620).
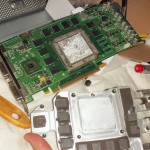
Took the chance to test an old xfx 7600 GT that died on me years ago. Thought maybe it was the mobo at the time.. so worth giving it a try; no luck though, it’s dead.
Bay converters: they SUCK. Apparently they aren’t standard size, so I had to cut them a little bit on the sides and keep trying till the devices could be placed. Same thing with the screw holes, they didn’t fit. I will leave the appropriate feedback to the ebay seller. Anyway, I bought 2 of them, used them for the cards reader and the fans controller. They don’t look great, but beats a hole on each side.
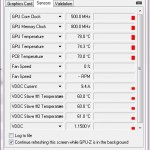
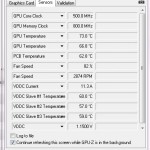
One thing that bothers me now.. the card runs extremelly hot. ~75-80C on IDLE, ~100 on load. I’ve read on some forums from other people’s experiences, and this seems to be acceptable Oo The fan is also quite noisy at 100%, so I put it down to 60% manually when I’m not gaming (it auto-adjusts itself, but being the idle temp. so high it’s always loud). I also tried lowering the core/memory/shader frec. but it didn’t help much. I guess I need a more powerful case window fan (it’s very low rpm to keep the noise down, about 650 RPM). Maybe I’ll open the videocard and plug the fan to the controller sometime, so I don’t have to use the nvidia control panel for that every time.
As for gaming.. it’s really nice, played some Aion beta and Oblivion, was great and smooth with max settings.
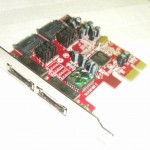
Now the PCI-e sata card. It was cheap. So cheap they didn’t mention you could only use 2 of the 4 ports at a time. It has 2x e-sata on the back, and 2 internal sata ports. You need to switch some jumpers to use either. I bought this card since my motherboard has only 6 sata ports and I needed at least 8 (5 hard disks, 1 dvd drive, 1 e-sata + 1 sata on the front panel). I don’t think I’ll ever have a use for e-sata, but I often use the other normal sata port.
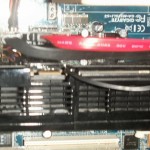
This was quite a screw up. The card is so small.. the sata cables barely reached, I had to place over the video card :/
It didn’t work right away on W7-64, and the included drivers failed. Trying to update the driver online from device manager failed to find anything. The drivers from the Silicon website failed also (the card is a Sil 3132). Oddly though.. windows update did find the driver, installed it, and then it worked great (beats me why trying from device manager failed).
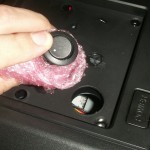
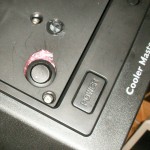
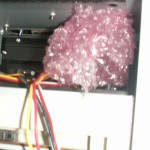
Light catodes.. w/e they are called: I had 4 of these in my older case, 2 blue, 2 violet, connected to a controller (off/on/alternate blue-violet, on by sound). I decided to use the 2 blue ones, without the controller (it’s small and leaves half a 5 1/4 bay empty). The problem was where I’d place the on/off switch. The case has some sorta opening on top below a plastic pad, which is advertised to be used for filling a water tank for wc (no clue how you’d install that there.. seems like bs advertising). The button was too small, but then I saw this bubble plastic stuff I had lying around and had this idea..
This area is normally covered, so it doesn’t matter if it looks ugly, it’ll be always covered (I can still press the button).
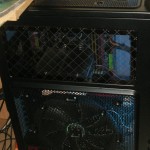
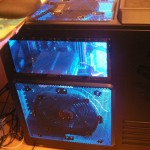
The lights:
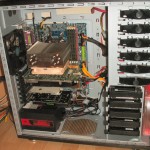
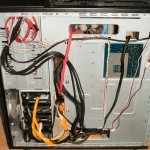
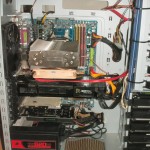
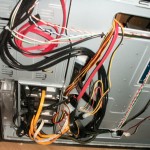
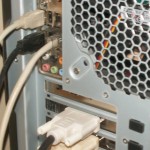
And we are mostly finished. The backside with a few more cables:
And we are done. Thanks for reading!

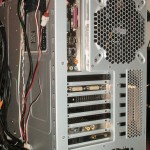
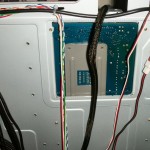
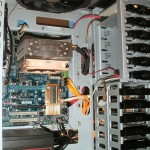
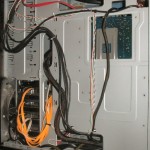


Very time consuming !
BTW the faster PC of the 2 I’m using at work has an i7 with 12 GB of RAM and 2 Intel SSD in RAID0.. for data streaming.. while the system is on a standard HD 8( ..also an NVidia 280 on it 8)